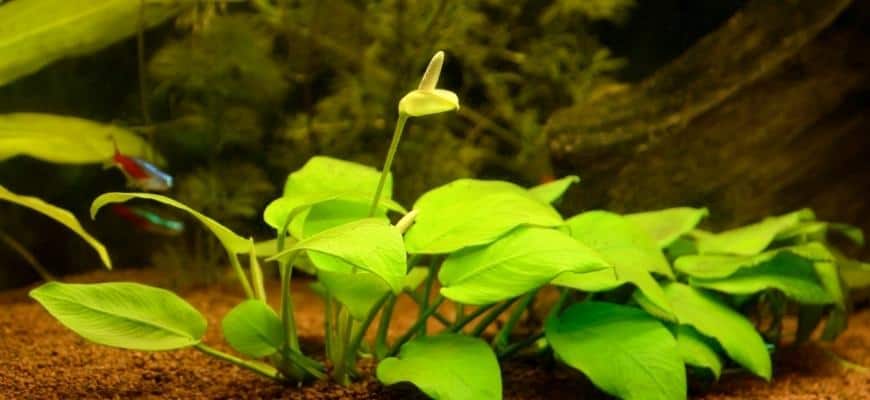
Growing flowers underwater has always been a challenge because many aquatic plants require specific environmental conditions to flower and maintain flowering. If you own an Anubias plant, you are in luck because this plant is hardy, keeps nitrate levels under control, and is even capable of flowering underwater!
Anubias sp.
The Anubias family of plants is a large and diverse group of aquatic and semi-aquatic flowering, fern-like perennials native to Africa. Today, they can be found in your local fish store, or even online!
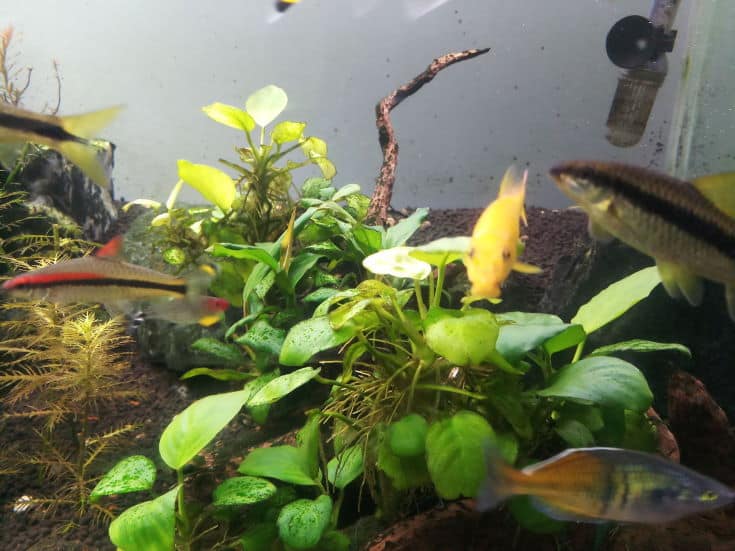
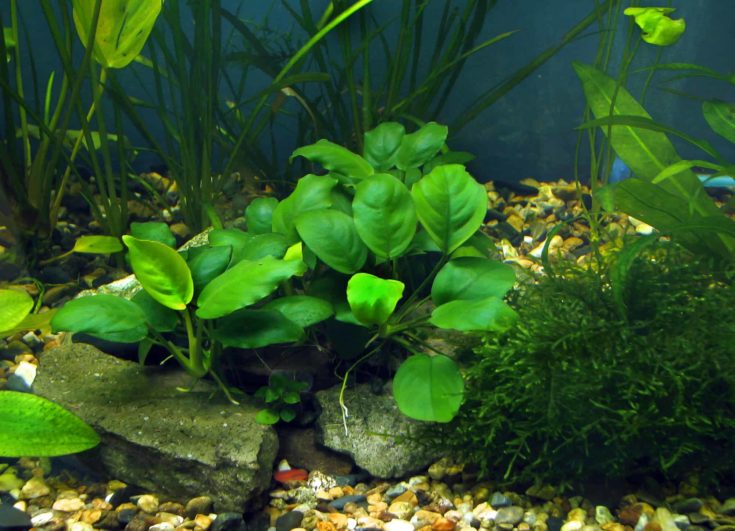
All healthy anubias have smooth waxy leaves which are typically shaped like an arrow or lance head. The leaves range in color from dark green to black, bronze, pinkish-red, and even light purple. There are roughly 82 species of Anubia with many subspecies, varieties, and cultivars.
Though many of these species are capable of surviving underwater, most anubias bloom above water level. For this reason, hobbyists often play “tricks” on their plants to induce flowering underwater. Read on to learn more!
Anubias Flower – Guide To Flowering Underwater
Ready to induce your Anubia into flowering? You’re in luck! This step-by-step guide will teach you how to successfully induce your submerged plant into flowering for the first time.
Step 1: Get Rid Of Some Leaves
The first step in the process involves getting rid of all your plant’s leaves except for about 5-6 per rhizome. This is done because it takes a lot of energy to make flowers bud. Leaves, as one would expect, get in the way of this process as they also require a lot of energy.
To remove the leaves, simply tear them off by hand. They’ll come off easily and you shouldn’t be surprised if a few of the leaf nodes snap off in the process. Remember to leave a few regular leaves behind for photosynthesis! As mentioned previously, 5-6 leaves per rhizome should more than suffice.
Step 2: Expose The Rhizome
Next, you should expose the rhizomes by removing some of the substrates so that there are no rocks hiding them below. During flower bud formation, the stalk will grow upwards and may be damaged if it comes in contact with anything at or below substrate level.
We recommend using a fluorite substrate, laterite substrate, or a dirt-eco-complete substrate as these are easy to remove without disturbing the roots too much. Using harder substrates like smooth gravel or aquatic soil is not recommended because it may damage the rhizomes when you try to scoop them out for this process.
Step 3: Stop Fertilizing
It may sound counterintuitive to stop fertilizing your aquarium plant as you wish to produce flowers but it’s true. When plants are exposed to a lower level of nutrients, they channel all their energy towards the development of flowers to ensure the survival of their species. This is why you should stop all fertilization when inducing flowering.
You can remove your plant from any liquid fertilizer solution or simply cut back on the dosage if using a solid tablet form of fertilizer. The best course of action is to not fertilize your plant at all and allow it to go through this process on its own.
Step 4: Bleach The Rhizomes
Next, you have to bleach all your rhizomes except for one, which will become the flowering plant. Do your best to select one that has at least 5-6 nodes from which you can propagate new plants. Remove all other rhizomes from the aquarium and bleach for 1 hour. This is done to sterilize the rhizomes in case any of them are carrying diseases you don’t want to spread to your flowering plant.
Aquarists commonly use a product called Clorox, which contains sodium hypochlorite. Create a solution consisting of 1 part bleach and 10 parts water, and submerge the rhizomes for 1 hour. After, that rinse them until the water runs clear and place them in your aquarium with the remaining unbleached rhizome.
Step 5: Cut Back On Lighting
Now that you have a few leaves left, it’s time to cut back on the lighting. In order for flowers to form there must be a distinct difference between night and day, as is found in nature.
Cut the lighting back to about 0.5 watt per gallon (1 watt per 4 liters). If you’re using a higher than normal wattage for your aquarium, keep the light on longer and/or raise it up closer to the plant’s leaves. Be cautious with this step, as you do not want to burn your plant or lose any leaves. Keep an eye on your plant and if the leaves begin to burn, remove the light immediately!
Step 6: Cut Back On Water Flow
After a few days of cutting back on your lighting schedule, you should make another change to help induce flowering. Flowering is brought about in nature with sudden changes, so it’s best to mimic this change here as well. Stop all water flow through the plant by making sure no air bubbles enter the aquarium when your filters are on.
If you want to be totally hands-off with this process, simply disconnect the airline tubing that runs to your powerheads or airstones. Be sure to adjust your timers so that your filters turn off at the same time your lights do. By stopping the flow of water through your Anubias, you are simulating a dry season, so the plant will do the rest of the work for you!
Step 7: Be Patient
Patience is the key to this entire process, so remain calm and don’t expect anything drastic to happen overnight. It may take several weeks to a month for your plant to send up its flower spike and there’s no way of knowing which day it will happen. This is the same with many species of plants that produce flowers, so do not be surprised if this happens.
Once your Anubias has started putting energy into its flower spike, it’s important to leave it alone. It will not get any taller and it won’t grow new leaves once flowering begins, so enjoy this rare sight and let nature take its course!
Other Tips
Use Soft Water
One of the keys to success in flowering underwater is to have very soft water that has no detectable KH or GH. This is because Anubias is a true aquatic and requires this type of water in order to reproduce and flower underwater.
Simulate Seasonal Changes
If you have extremely low NO3 or PO4 readings in your tank, this can also help induce flowering as it simulates natural seasonal changes in the wild. To do so, keep NO3 and PO4 at 0ppm and use an RO/DI unit to remove any trace of these elements from your water.
Maintain An Ideal Water Temperature

For best results, keep the tank’s temperature between 77-82°F (25-28°C). The Anubia is a tropical plant that flowers in warmer water. Simulating these water conditions in your tank can send a signal to your plant to start flowering!
Conclusion
We hope this article taught you everything you needed to know about causing flowering underwater with Anubias and that you’ll be able to use this information to flower your own plants as well!
If you enjoyed this article, do share it with a fellow enthusiast, or drop us a comment to say hi. Your support means the world to us.
Until next time, we wish you good luck and good fishkeeping!